I have the lucky opportunity to do some work for an indie game company remotely, but first I have to learn how to use this spiffy landscape program called Grome. So in the same tradition that I am doing with Blender, you all get to see my pain. *grins*
I always said that no matter what I do in Metaplace, my claim to fame will always be my trees. And then laugh. Well it would seem there is at least one looney out there that thinks I may have a good eye for landscaping. Lets all hope I do not prove him wrong!
Tutorial 1, instruction 1: Start a new scene.

Oooo, look at the pretty puffy clouds....The Siiiimpsons....
At the beginning, the scene is blank and contains no data. At this point I got confused because this is a video tutorial and its easy to miss what the mouse is doing cause I want to think they will say it too. Wrong...
It looks like I can click and drag to make the size of my zone or enter the numbers in ther Terrain dimensions. (circle UI)The perameters are dependant on each other, so one will effect the other while the resolution remains the same.

You can also set the Zone resoultion (number of tiles) here.
The tool can be used to make multiple zones at once by changing the X Zones and Y Zones Here.

You may also numerically set the position, or click and drag where you want it. The tile settings change as you do this but the resolution or tile number stays the same.

There are three modes to click and drag in Creation mode. Click and drag from corner to corner, click and drag from the center out, or click and move while it stays the same shape.
You can also activate Snap so that its location snaps to the grid.

Viewing from the top is very useful when in snap mode. You can get to top view by clicking on the little thingie in the top right corner of your view screen.
Now we are going to create a single zone of 256 by 256 tiles with 10 units per tile so in total of 2560 units per zone edge. I will set these parameters and press Create.

You can see that it snaps to the grid perfectly so you can place all your zones perfectly together.

Here you can see we created a denser zone and it still snaps right up agains our first one.

Going back to top view you can place as many zones as you want of varying resolutions.
Now we will return to perspective mode to see the results.
Deselect zone to come out of creation mode, Go back to the thingie at the corner of your view screen and select wireframe. Then find the clipboard looking icon up top that allows you to select all scene elements.

Go to options-preferences...terrain-runtime...disabled. Now you can see the difference in the resolutions between the resolutions of the different zones.

Now you can start working on the new terrain without worrying about transitions between different zones and thier distinct resolutions.
There are several ways to select zones. One is by Ctrl-click the zone or Ctrl-click-drag to select a section.

Replacing Ctrl with Alt will deselect them

Or you can go Edit-Select by name to pick them from a list of names. A shortcut for this is Ctrl-Alt-S. You can also invert what you have selected by going Edit-Invert Selection. Then to focus on the current selection you go Edit-Zoom Extents or Z shortcut.
Now we are going to do some modifying. By default all zones have one layer of heightmap.

On the Project tab push the Terrain button and + to add a layer. Then push the heightmap button. Then Press the Selection Tab and press the + next to heightmap layer. Your zones will display under there. The zones are all flat, as indicated by the blue thumbnails.
Let's modify an area at the border of two zonesof different resolutions. Active the elevation brush at the bottom of the screen

There is no seam between the two zones. The editor will ensure continuous transitions between the borders. You can change the size of the brush by changing the size aspect. (circle this) Now lets use a Mask to create some variation.

Switch the brush parameters from Round to Mask and choose a Mask.

You can see that the zone with the higher resolution is more capable of creating a noisy result where the zone with the lower resolution is smoother. But even so, the transition is made with no visible seam.
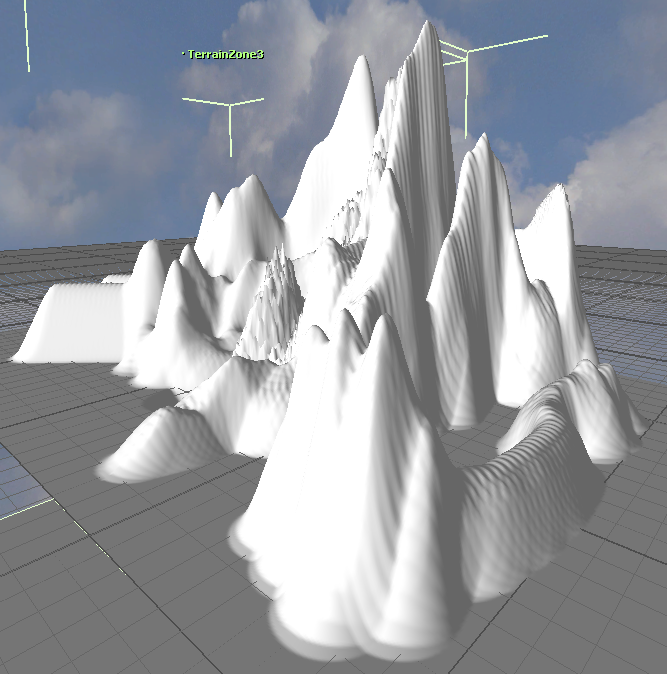
Ok, I think I got a little carried away!

